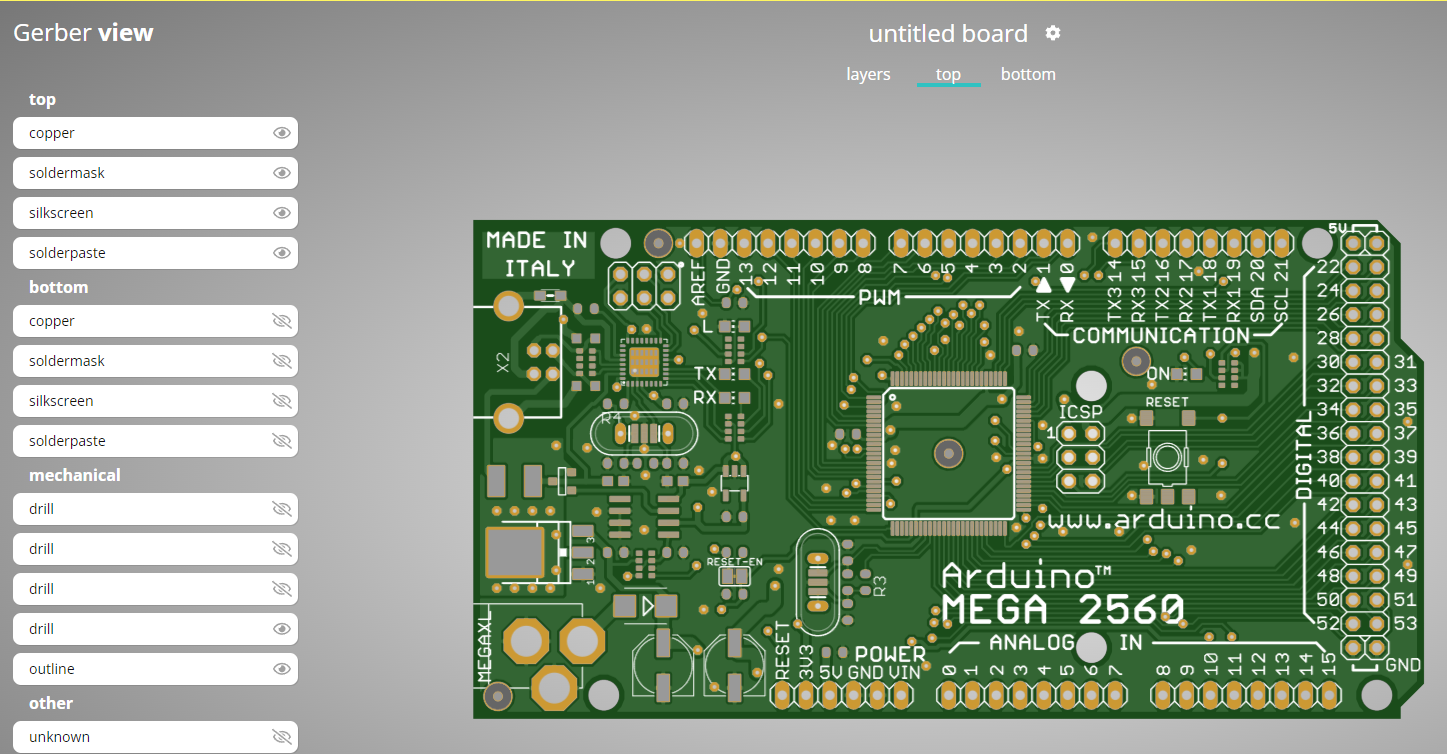
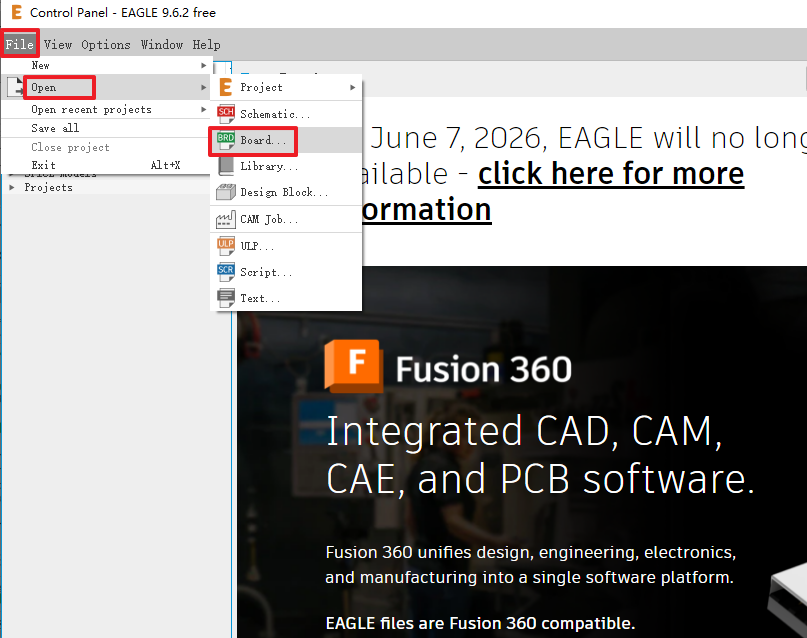
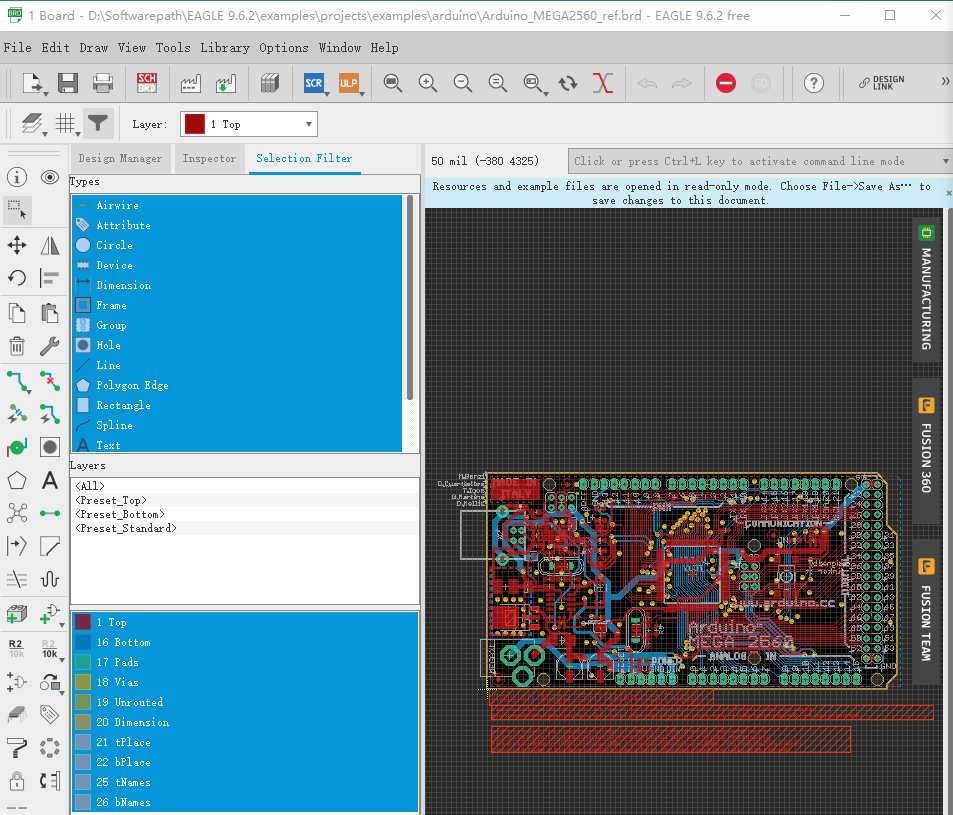
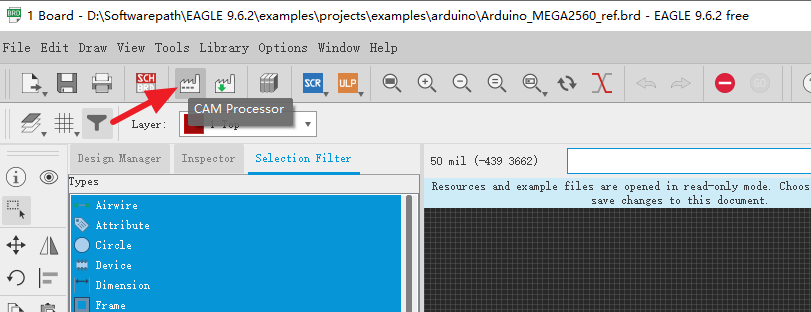
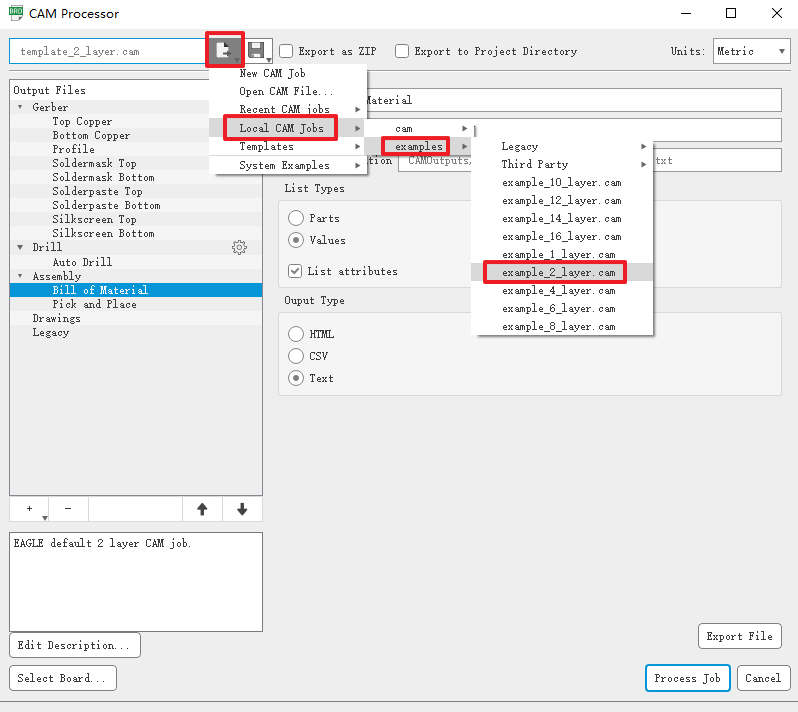
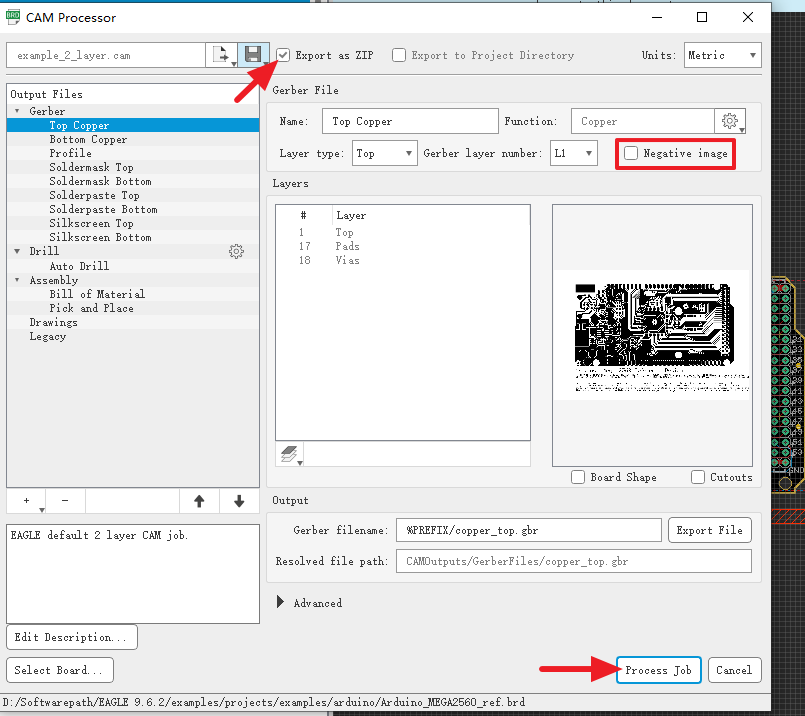
This tutorial will guide you through the process of generating Gerber files and drill files from Autodesk Eagle 9.6.2. Whether you're a beginner or an experienced user, this step-by-step guide will help you prepare your PCB design for manufacturing. The example used in this guide is the Arduino_MEGA2560_ref.brd board that comes with the default Eagle installation. This board is ideal for learning how to generate the necessary output files for manufacturing. Tips: Before exporting your Gerber files, it's strongly recommended to run a Design Rule Check (DRC) to ensure there are no errors that could cause issues during manufacturing. Note: Be sure to uncheck the "Negative image" option, as highlighted in the image below. This will create a ZIP folder containing all the Gerber files required for manufacturing your PCB. If you'd like to check what’s inside the ZIP file, simply right-click the folder and extract its contents. That's it! You've successfully generated Gerber and drill files using Eagle 9.6.2. The centroid file (also known as the PnP file) can be found in the "Assembly" folder. After exporting your Gerber and Drill files, you can use the PCBWay Online Gerber Viewer to preview your board design. This tool allows you to check your design before sending it to the manufacturer. For more information about the PCBWay Online Gerber Viewer, visit their official page for a detailed explanation. Brass Copper Bar,Alloy Brass Rod,Free Cutting Brass Rod,Free Cutting Brass TAICANG CITY JINXN COPPER TUBE CO.,LTD , https://www.jinxincopperpipes.comGenerating Gerber Files, Drill Files, and Centroid (PnP) Files


Online Gerber Viewer by PCBWay